
In Cinema 4D, you can use MoGraph and Effectors to do all sorts of cool animation. The MoGraph and Cloner system is one of the biggest unique features of working in Cinema 4D. In this 3D Animation tutorial, I go over how to use MoGraph Effectors on MoText objects, in order to create letter-by-letter Text animations. I've gotten a couple questions lately on how I put together the intro sequence for my Tutorials, and this tutorial gets into just that!
This tutorial covers the process of applying MoGraph Effectors to MoText, as well as setting up the Effector Properties, animating strength, and adjusting and animating the falloff. Digging into the falloff settings for each Effector is really where you can push what you can do with MoGraph Effectors and create modular, re-useable animation systems.
To learn about setting up the custom materials on the Text Caps, check out this tutorial.
Be sure to also learn about the second part of this process of linking Optical Flares to Cinema 4D Animations in After Effects using Cineware.
To set up the letter-by-letter animation, first go to MoGraph > Effector, and choose an effector. If you do this with the MoText selected in Cinema 4D, it will automatically be applied to the letters of the text.
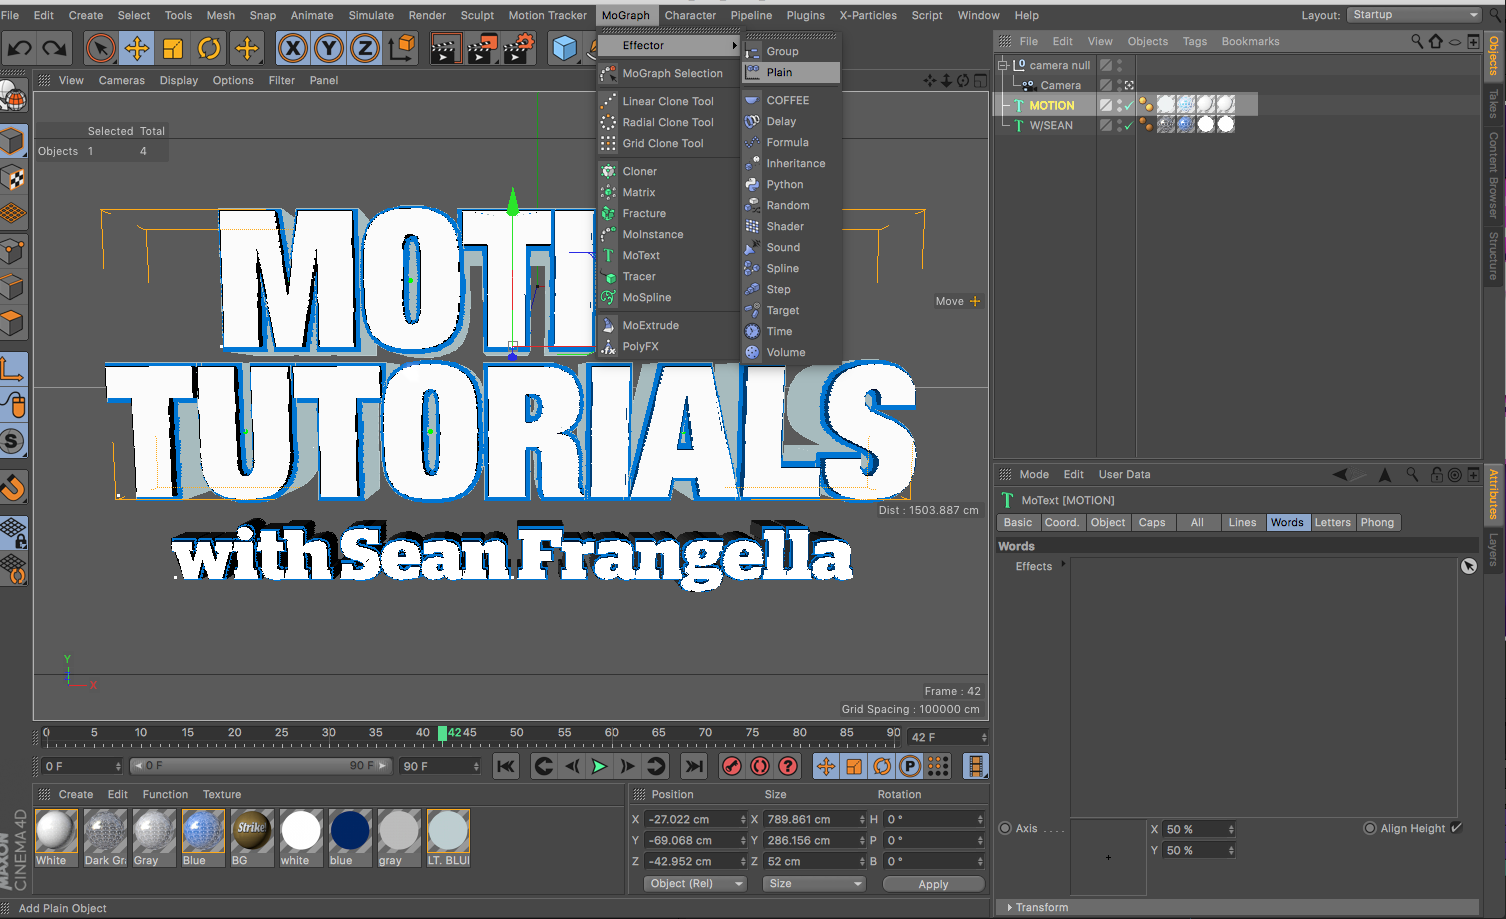
Look at alllll those fancy effectors.
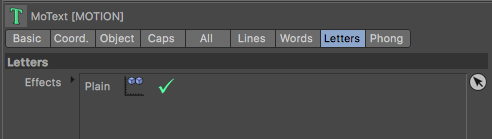
If you added the Effector to the scene without the MoText object selected, you can grab the Effector and drag it into "Letters."
On the Effector under "Parameters," you can adjust position, scale, and rotation. This will adjust the properties of each letter individually. If you want to adjust the scale uniformly, be sure to check "uniform scale."

I don't even want to know what happens if you don't check "uniform scale." I wouldn't chance it.
After adjusting Parameters, if you go to the Effector Tab, you can animate the strength on and off. You can also go beyond 100%, or below 0% to create overshoot and follow through.

Ohhhh, so that's why we're doing all this.
Adjusting the strength is great and all, but animating the falloff in the Falloff Tab is when things really get interesting. If you go to the Falloff Tab and change it from Infinite to Sphere, you can then move, scale, and just the shape of the falloff to create the animation. Now you don't even need to bother with the strength!

You can animate with a Torus, but now we're just getting crazy.
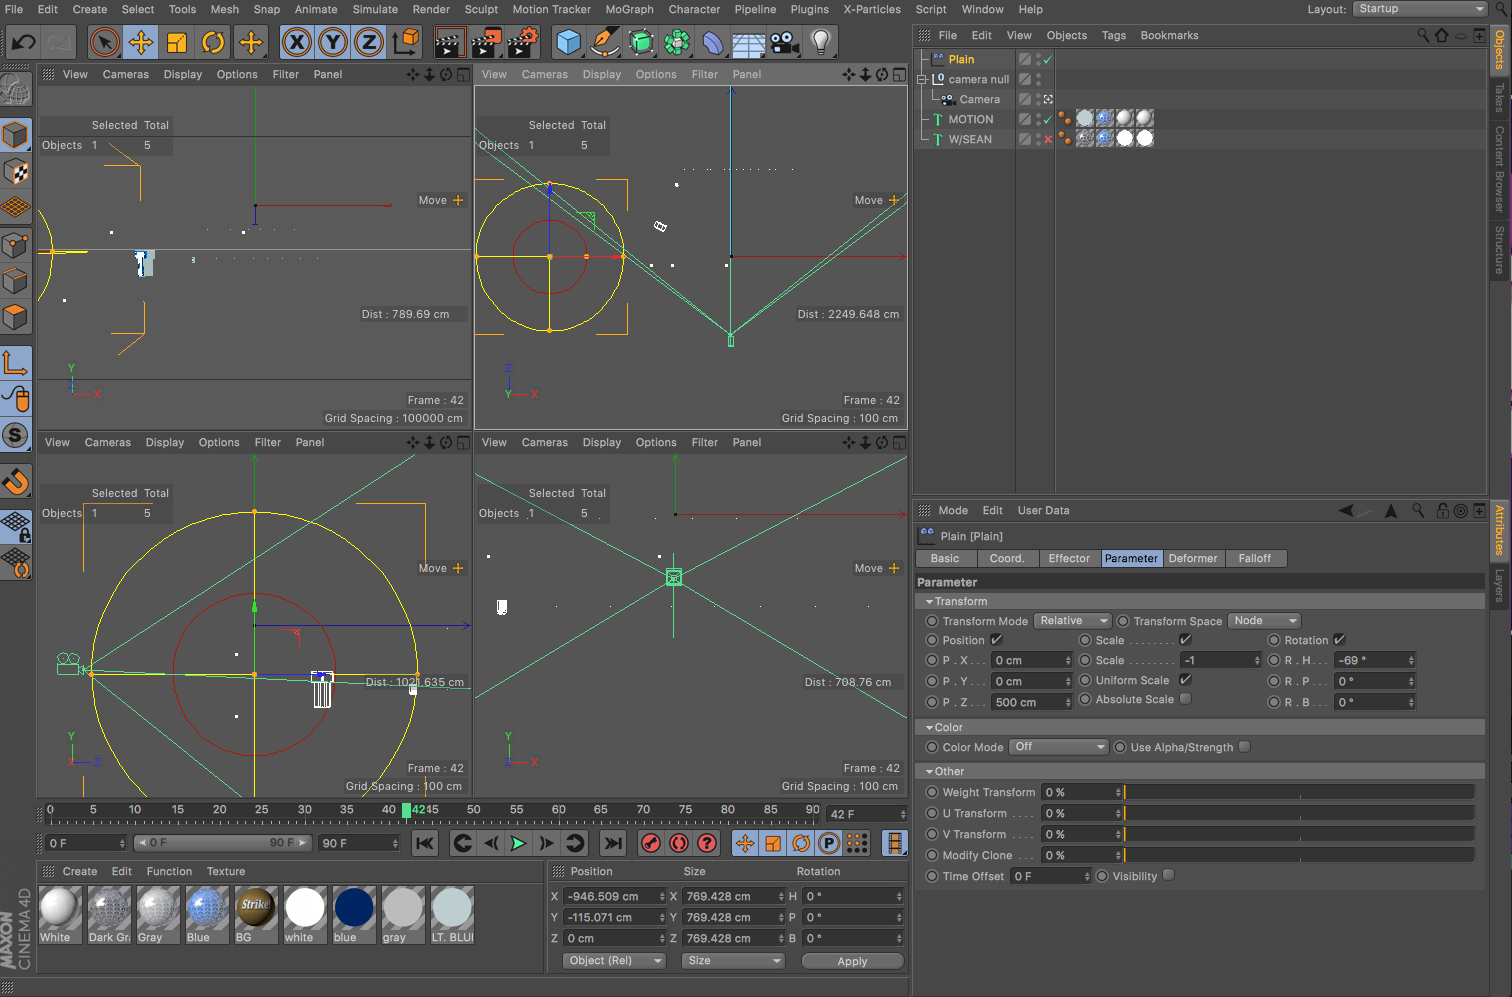
Check it out from different views. Taking a look from the top, you can see how moving and scaling the falloff affects groups of letters. Because the falloff is gradual, the letters will smoothly animate as you move and scale the falloff.

Now we're definitely in the Matrix.
Here's where the magic happens. If you invert the falloff by checking the invert button, now you can animate the sphere from out of frame onto the letters, and they will sequentially animate.

There's always one tiny checkbox that makes all the difference!
If you change scale to a value of -1, the letters will also scale into existence.
Check out this awesome screenshot where you can't see anything.
To create the animation, you can set a keyframe on the Position Coordinates with the spherical falloff over to the left, and 30 or 45 frames later set another keyframe with the falloff covering the letters.

Now we're talking, animation time!
Like this tutorial? Consider becoming a Patron at Patreon.com/SeanFrangella to get additional benefits such as project files and more!
To get weekly Motion Graphics, VFX, and 3D animation tutorials be sure to subscribe to the show on YouTube!
Looking for the next Tutorial to watch?
Check out the Top 5 Features of Element 3D V2 for After Effects!
Learn about the new 3D Character Creator app, Adobe Fuse!
Learn about the Top 5 new features of Cinema 4D R17!
Learn the Top 5 After Effects Expressions!
Learn how to Recreate the Agengers: Age of Ultron 3D Title Animation!
See how to Combine Element 3D with the new Saber Plug-in!
Learn about the Top 5 Hidden Features of Illustrator CC!
See how to bring Animated 3D Characters into Element 3D!
To check out new features added to Cinema 4D R16!
Check out the Top 5 Tips for Better Camera Animation in After Effects!