VFX & 3D Compositing

Cinema 4D R18 - Shadow Catcher, a new Material for 3D Compositing

When doing full 3D compositing with Cinema 4D, one of the trickiest things to achieve is casting shadows from 3D objects onto a background plate, in order to create the illusion that 3D objects are sitting on the surface and casting correct shadows. In the past, I've created other videos on how to achieve this, including using a Multi-Pass workflow with a separate pass for shadows, as well as Using the Composite Background in the Compositing Tag to achieve this result. The new Shadow Catcher in Cinema 4D R18 introduces another workflow to achieve this result.

The shadow catcher in C4D R18 is a new shader option in the materials manager. Once created, you can apply it to a ground plane, so when you render a 3D scene, shadows will be rendered on an alpha channel. You can also use the R18 Shadow Catcher to catch reflections. By using this method, 3D renders and footage can be composited together in Photoshop or After Effects, with shadows present in the Cinema 4D render.


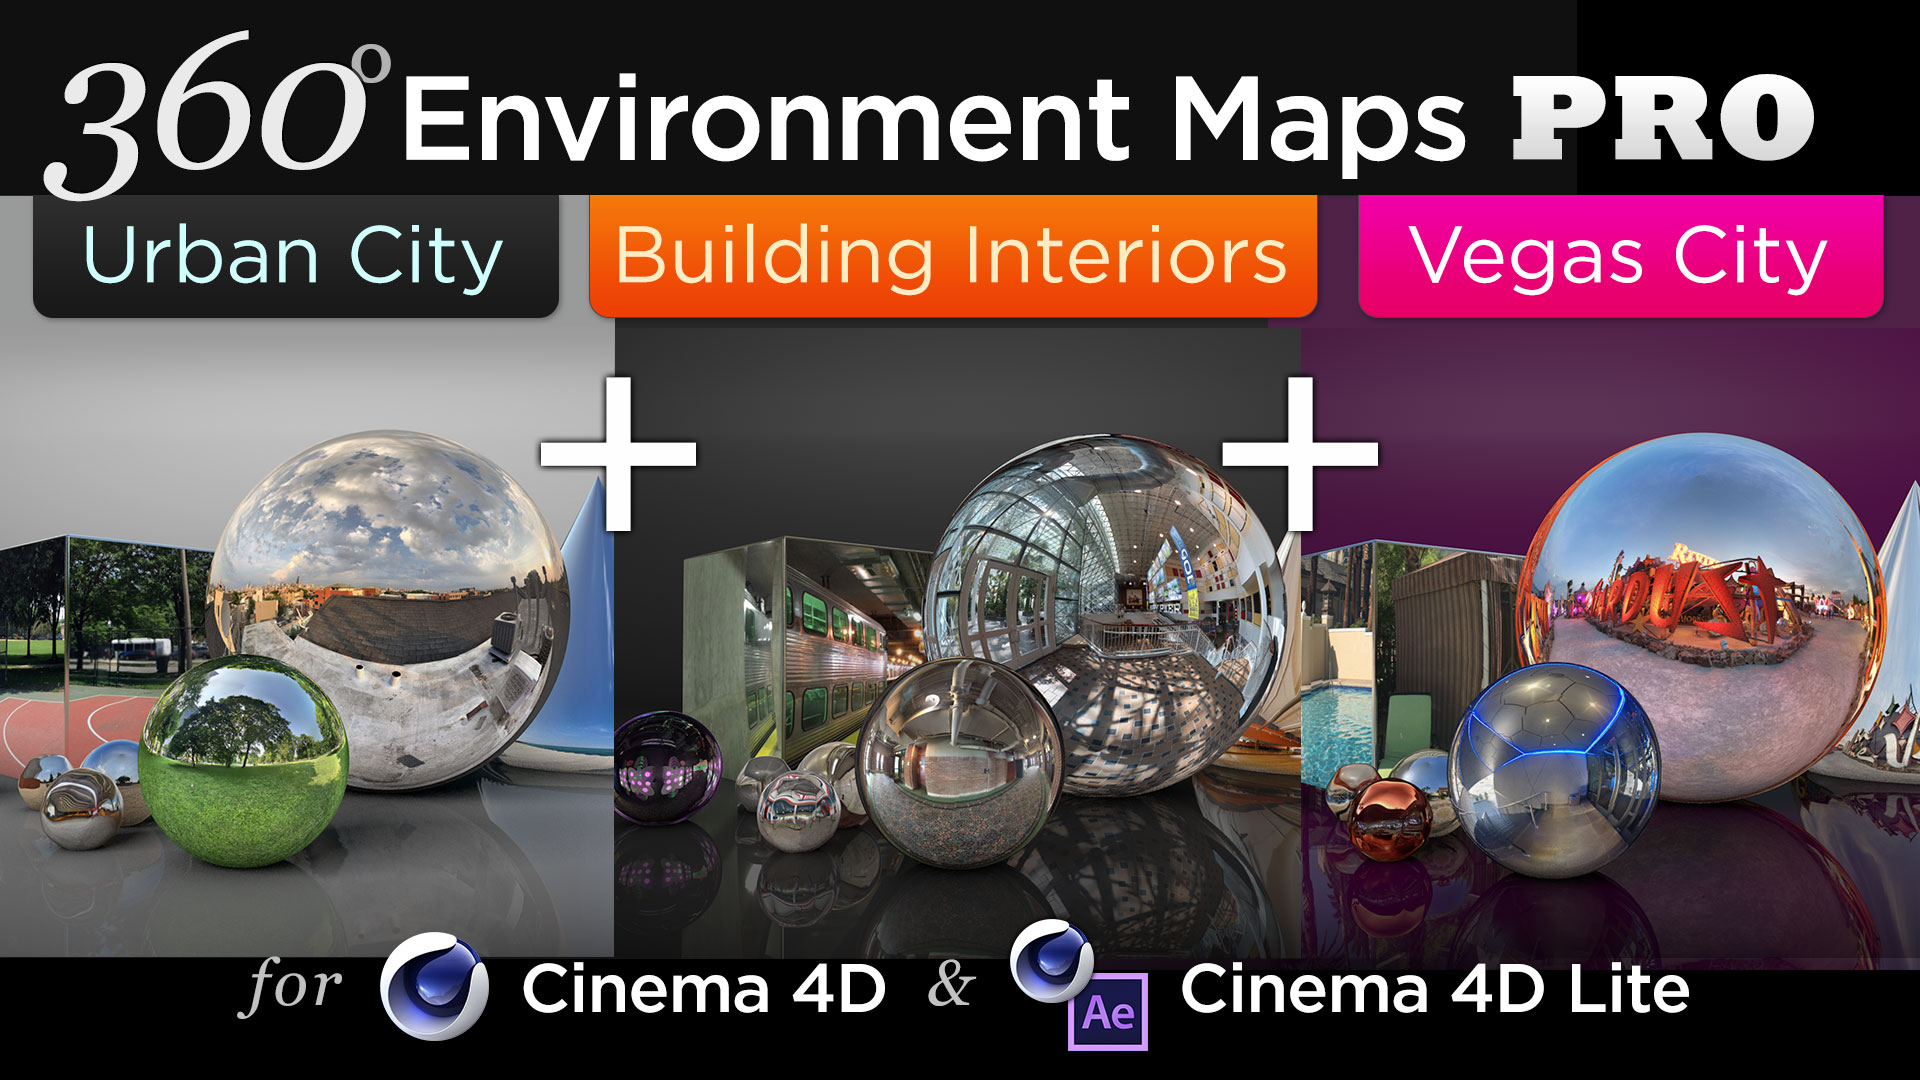
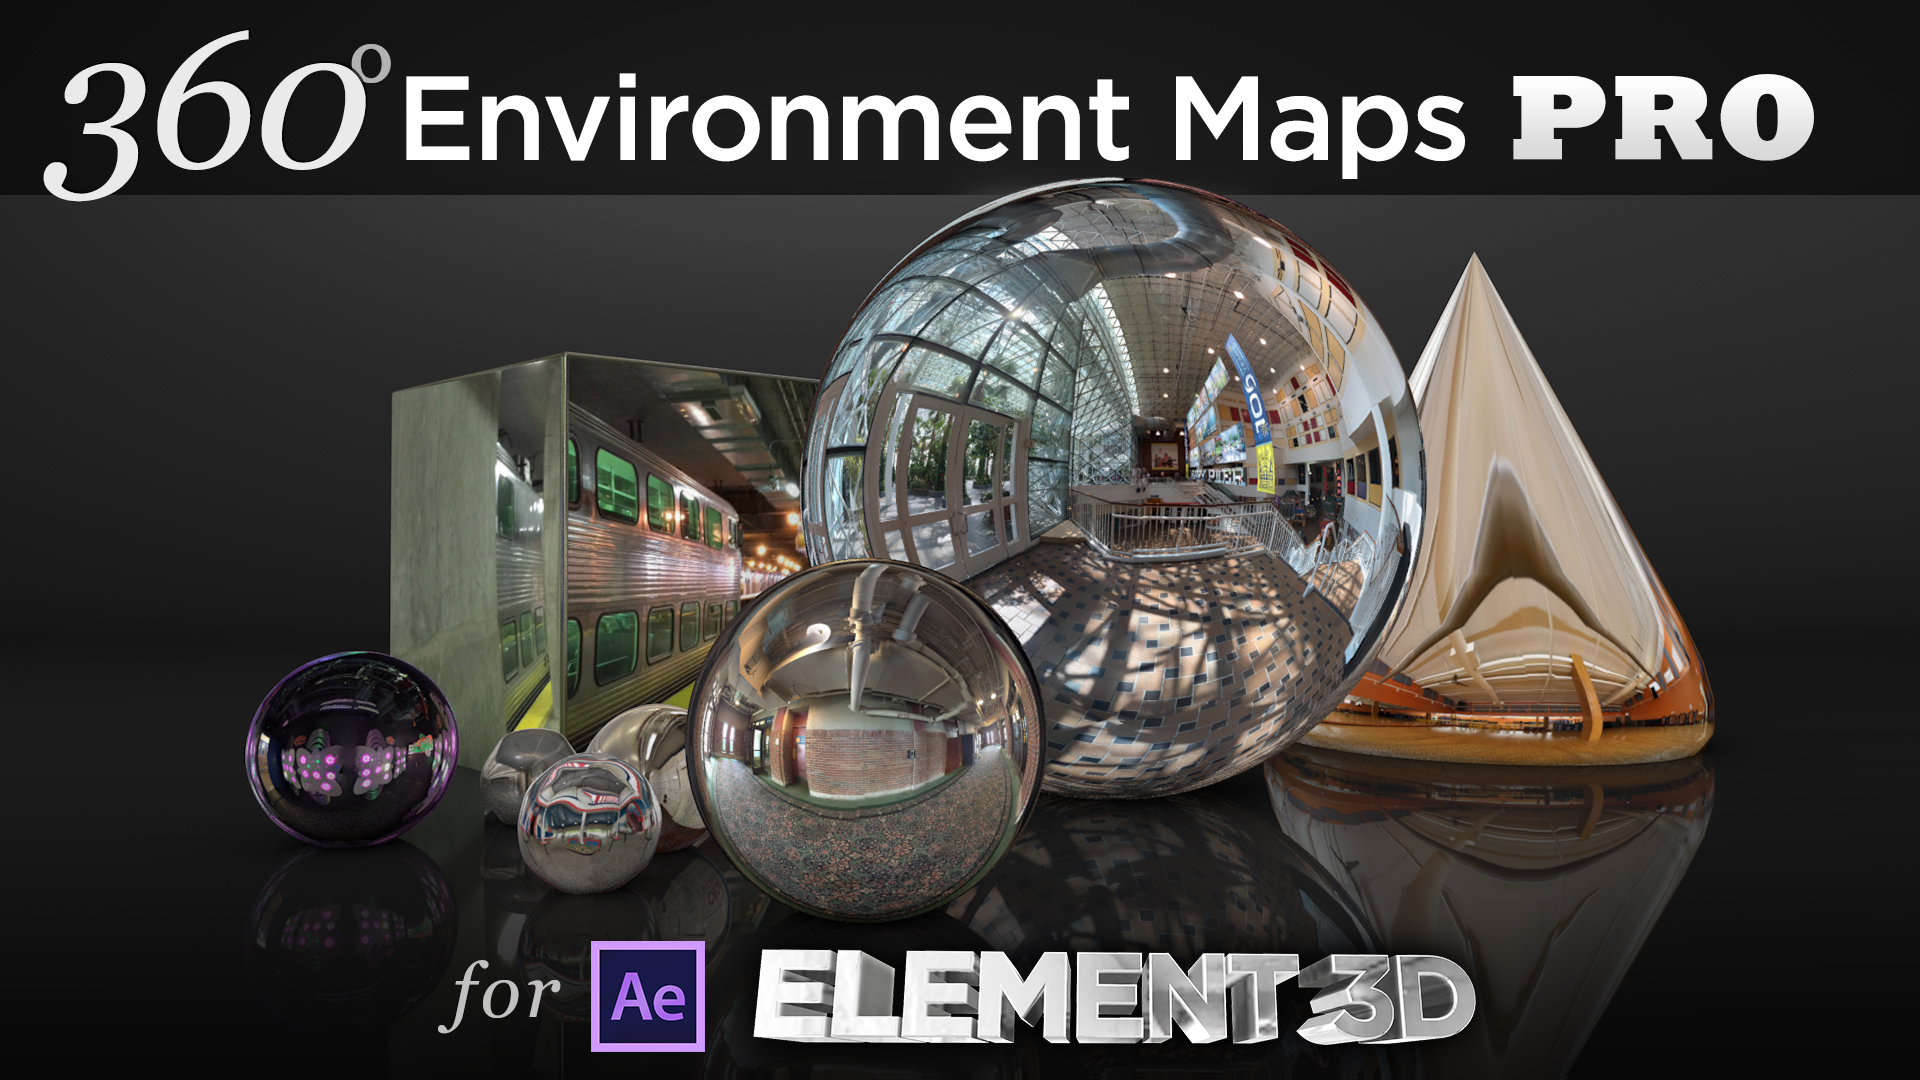
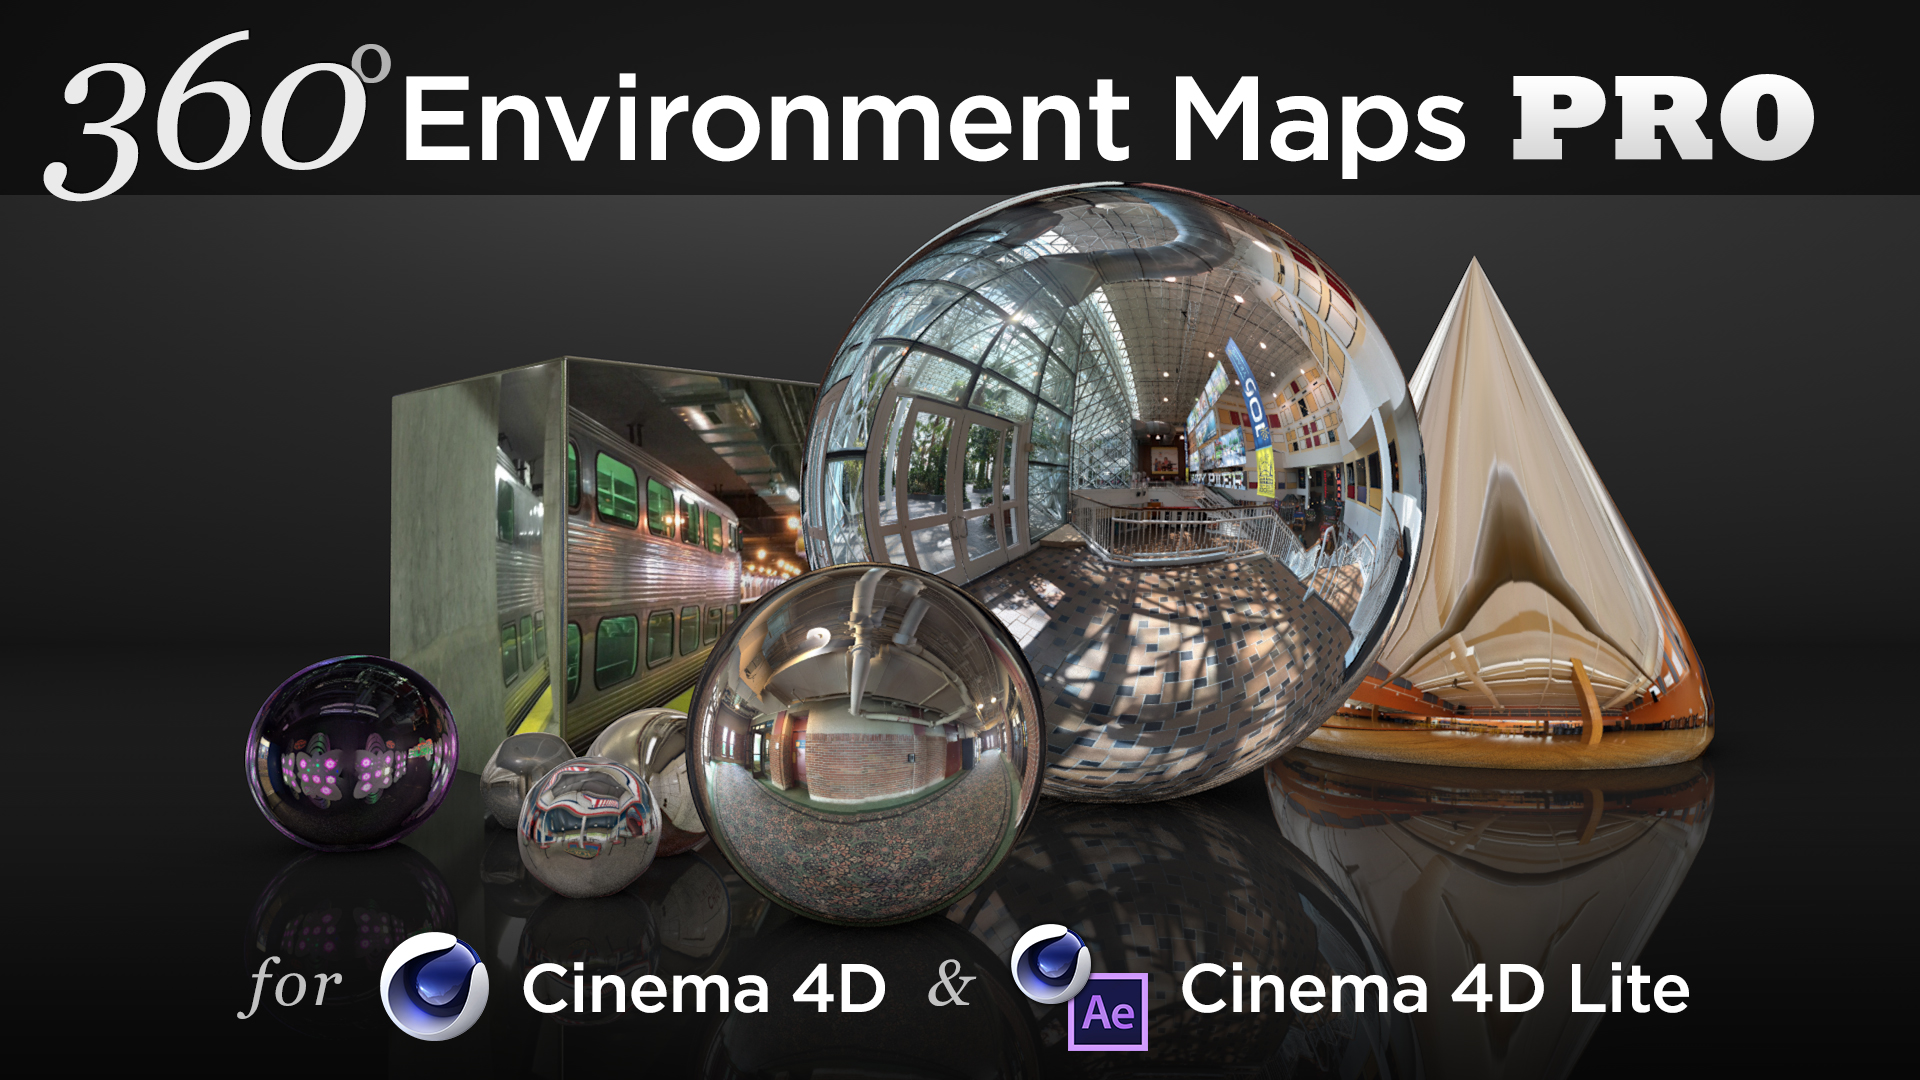
Want to make Lighting & Reflections in Cinema 4D a snap?

Take a look at 360° Environment Maps Pro for Cinema 4D & Cinema 4D Lite to quickly and easily add lighting and rendering options to your scene. You can also save over 25% on bundle packs!

To take a deeper look at new features in Cinema 4D R18, be sure to check out some of these additional articles focusing on other updates and new features for R18:

• Top 5 New Features of R18
MoGraph updates and new Effectors for R18
• Voronoi Fracture, a New MoGraph Feature
• Inverted Ambient Occlusion
• Working with the new Thinfilm Shader
• How to use the new Parallax Bump Map Feature
• Using the Substance Materials Workflow

Like this tutorial? Consider becoming a Patron at Patreon.com/SeanFrangella to get additional benefits such as project files and more! 

To get weekly Motion Graphics, VFX, and 3D animation tutorials be sure to subscribe to the show on YouTube!


Photoshop 3D Image Based Lighting - Using 360 Photos to light 3D scenes in Photoshop

When working in the 3D workspace in Adobe Photoshop, one of the key workflows to get a nice looking render is the use of Image Based Lighting. With image-based-lighting, or IBL, you can use a 360 Environment Map photo to light your scene, and show up in the reflections of your 3D objects.

In this tutorial, I go over how to set up IBL in the 3D workspace, using one of the photos from 360° Environment Maps Pro. You can create Environment Map photos using your phone, or be sure to check out the bundles in the online store where you can pick up affordable packs of up to 115 Environment Maps that can be used for Image Based Lighting in Photoshop, After Effects, and Cinema 4D.


Want to get 8K Environment Maps for Photoshop?

Check out 360° Environment Maps Pro, compatible with Photoshop


How to use Cinema 4D Object Buffers to create Masks and Track Mattes for Post-Production

Using Object Buffers in Cinema 4D makes it easy to create masks and track mattes for individual objects. Haven't heard of object buffers? What you can do is use the Compositing Tag to assign an object buffer to individual 3D objects, then when you render out a multi-pass render, you'll also render out a black and white version of the frame, with the selected object in white.

What's the point of that? Well, you can use this as a selection in Photoshop or as a Track Matte in After Effects. This way, you can add adjustments to individual elements of an animation wihtout needing to rotoscope or mask out the object. This can also be a huge time saver if you need to make an adjustment after you've already rendered the project.

An example of a 3D Render, rendered out as a PNG sequence from Cinema 4D

An example of a 3D Render, rendered out as a PNG sequence from Cinema 4D

A corresponding Multi-Pass render with an Object Buffer set to the word "object"

A corresponding Multi-Pass render with an Object Buffer set to the word "object"


Want to greatly improve your 3D Renders?

Check out 360° Environment Maps Pro for Cinema 4D

Like this tutorial? Consider becoming a Patron at Patreon.com/SeanFrangella to get additional benefits such as project files and more! 

To get weekly Motion Graphics, VFX, and 3D animation tutorials be sure to subscribe to the show on YouTube!


Create Facebook 360 Photos using just your Phone

Facebook 360 photos just started popping up a few days ago and right away I wanted to figure out how to do it, and what the easiest workflow would be to produce the best results. In this tutorial I go over some quick steps to create a full 360 photo using the Google Street View App for the iPhone, and then correctly uploading the 360 photo to Facebook.

Integrating VR with phones, apps, and 3D software is starting to really heat up these days, and this is one of the first instances I've seen where you can do everything with just your phone and everything works pretty smoothly and seamlessly.

Want to save some time and pick up 360° Environment packs for 3D products? Be sure to check out 360° Environment Pro for Cinema 4D and Element 3D in the online store!


Like this tutorial? Consider becoming a Patron at Patreon.com/SeanFrangella to get additional benefits such as project files and more! 

To get weekly Motion Graphics, VFX, and 3D animation tutorials be sure to subscribe to the show on YouTube!


Game of Throne VFX Tutorial - Emulate the Blue Tint Film Look

An iconic look to the scenes in Game of Thrones taking place in Winterfell or involving the nights watch is the blue tint look. Using Adobe After Effects and the Lumetri color grading effect, you can recreate this stylized film look. In addition to the film look, you can also recreate the CG snow look in After Effects using Trapcode Particular.

Want to get the project file for this tutorial? You can purchase it in the online store for just a couple dollars!

To learn more about recreating the CG snow, check out the other part of this tutorial:

Game Of Thrones VFX Tutorial - Recreate CG Snow


Like this tutorial? Consider becoming a Patron at Patreon.com/SeanFrangella to get additional benefits such as project files and more! 

To get weekly Motion Graphics, VFX, and 3D animation tutorials be sure to subscribe to the show on YouTube!


Game of Thrones VFX Tutorial - Recreate CG Snow

A very powerful use of Trapcode Particular in After Effects is recreating volumetric, believable snow and snowstorms. This technique is frequently seen in Game of Thrones, when the scenes are taking place in Winterfell or involving the night's watch. In this tutorial, learn how to quickly recreate the CG snow look in a close-up shot using Trapcode Particular 2.5. This tutorial also covers new updates for Particular 2.5.

Want to get the project file for this tutorial? You can purchase it in the online store for just a couple dollars!

In addition to the CG snow, recreating this look involves creating the blue tint color grade. To learn about how to do that using the Lumetri Effect in After Effects, check out the other part of this tutorial here:

Game Of Throne VFX Tutorial - Emulate The Blue Tint Film Look


Like this tutorial? Consider becoming a Patron at Patreon.com/SeanFrangella to get additional benefits such as project files and more! 

To get weekly Motion Graphics, VFX, and 3D animation tutorials be sure to subscribe to the show on YouTube!


How to Extract Elements from Footage with the RotoBrush & Refine Edge Tool in After Effects CC

Sometimes you want to composite elements into the background of a shot, but a character is in the foreground, and you need the VFX elements to go between the character and the background. Or you have a really tricky shot where you need to isolate and extract one element from a shot, but didn't have a green screen handy.

Using the RotoBrush and Refine Edge tool in After Effects CC, you can mask out elements of a shot over time. Frame-by-frame masking and rotoscoping you say? Not in my workflow, grandpa! The rotobrush lets you quickly paint the element that you want to retain, and After Effects will use this data over time to handle the movement. The more information you give the RotoBrush tool the better, but it'll still be much faster than the painful process of frame-by-frame roto work. With the Refine Edge Tool, new to After Effects CC, you can now adjust the edges of the element even further, to account for tricky shots like hair.

Looking for more After Effects Tracking, Compositing, and Visual Effects Tutorials?

Learn about working with the After Effects 2D Tracker

Check out how to track Matte Paintings using the 3D Camera Tracker

Learn How to Track & Composite a 3D Object in Cinema 4D & After Effects


Like this tutorial? Consider becoming a Patron at Patreon.com/SeanFrangella to get additional benefits such as project files and more! 

To get weekly Motion Graphics, VFX, and 3D animation tutorials be sure to subscribe to the show on YouTube!


How to link Optical Flares to Cinema 4D Animations in After Effects

One of the the best things about the newer integration between Cinema 4D and After Effects CC is the Cineware integration, which allows you to bring Cinema 4D or Cinema 4D Lite files into After Effects directly, without needing to render them out. Additionally, you can use Cineware to extract elements out of Cinema 4D and bring them into After Effects, and have everything perfectly line up. 

In this video, we'll talk about taking an animated logo from Cinema 4D into After Effects, and use Cineware to link up Video Copilot's Optical Flares plug-in, and have everything work in alignment. We'll also talk about using Cineware to rip out a depth pass, in order to occlude certain parts of a scene.

Want to learn more about Cinema 4D Lite to get off the ground in 3D?

Learn how to Create a 3D extruded logo in Cinema 4D or Cinema 4D Lite.

Then learn how to Work with Materials and Reflectance textures in Cinema 4D.

Next learn about 3D Lighting and HDRI Sky images in Cinema 4D.

And then learn about Creating Animation, working with Keyframes, and the Cinema 4D Timeline.

Finally, learn some Fancy post-production effects like linking Optical Flares to Cinema 4D Animations.


Like this tutorial? Consider becoming a Patron at Patreon.com/SeanFrangella to get additional benefits such as project files and more! 

To get weekly Motion Graphics, VFX, and 3D animation tutorials be sure to subscribe to the show on YouTube!


Cinema 4D R17 - Using the New Lens Distortion Tools

When you're motion tracking and compositing 3D objects into footage, working with footage shot with a wide angle lens can be a bit tricky. Now with the new Lens Distortion tools in Cinema 4D R17, dealing with lens distortion is no problem! With these new tools, you can warp your 3D scene to account for the lens distortion present in your footage, add the lens distortion as a profile during rendering, and pull a lens profile from existing footage. This works great with the camera tracker updates in Cinema 4D R17. Learn how to use the new Lens Distortion Tools in the video above!

There are so many new features in Cinema 4D R17, I put together several more videos taking a deeper look at new features. Check out these additional topics for more coverage of Cinema 4D R17!

Rebuilt Pen Tool for R17
NEW Variation Shader
Working with the New Takes System
• Updates to the MetaBall Object
• 3D Motion Tracking Updates for R17
• New Lens Distortion Tools
Easier SketchUp Import
Updated Color Chooser
NEW Book Generator

Like this tutorial? Consider becoming a Patron at Patreon.com/SeanFrangella to get additional benefits such as project files and more! 

To get weekly Motion Graphics, VFX, and 3D animation tutorials be sure to subscribe to the show on YouTube!


Cinema 4D R17 - Using the Motion Tracker for 3D Tracking & Compositing

The Motion Tracking tools were added to Cinema 4D in R16, and now in R17 they get some really great updates and enhancements. With the new enhancements, you can now motion track and composite 3d models into live action footage using the Cinema 4D R17 Camera Tracker along with the new Graph view, a new feature to C4D R17. This video includes an overview on the Camera Tracker in Cinema 4D as well as a step by step tutorial on how to motion track a scene and composite 3D objects into live action footage. This also covers the Lens Distortion Tool, another new feature of Cinema 4D R17.

There are so many new features in Cinema 4D R17, I put together several more videos taking a deeper look at new features. Check out these additional topics for more coverage of Cinema 4D R17!

Rebuilt Pen Tool for R17
NEW Variation Shader
Working with the New Takes System
• Updates to the MetaBall Object
• 3D Motion Tracking Updates for R17
• New Lens Distortion Tools
Easier SketchUp Import
Updated Color Chooser
NEW Book Generator

Like this tutorial? Consider becoming a Patron at Patreon.com/SeanFrangella to get additional benefits such as project files and more! 

To get weekly Motion Graphics, VFX, and 3D animation tutorials be sure to subscribe to the show on YouTube!


Using the Composite Background Tag in Cinema 4D to cast realistic shadows on top of Footage

When you're compositing 3D models into live action footage or photos using Cinema 4D, getting the shadows to cast and feel realistic can be one of the trickiest parts. Luckily Cinema 4D has the "Composite Background Tag" to do just that. In this video I go over how to get it set up using a still photo with a ground and wall, and casting the shadows from 3D objects onto the physical surfaces.

This Cinema 4D VFX & Compositing tutorial also covers overall Cinema 4D R16 texturing and modeling tips and tricks.


Like this tutorial? Consider becoming a Patron at Patreon.com/SeanFrangella to get additional benefits such as project files and more! 

To get weekly Motion Graphics, VFX, and 3D animation tutorials be sure to subscribe to the show on YouTube!


Looking for the next Tutorial to watch?

Check out the Top 5 Features of Element 3D V2 for After Effects at this video!

Learn about the Top 5 new features of Cinema 4D R17 at this video!

Learn the Top 5 After Effects Expressions in this video!

Learn how to recreate the Agengers: Age of Ultron 3D logo in this video!

To check out new features added to Cinema 4D R16, check out this video!


How to Motion Track & Composite 3D Models into live action footage using Element 3D V2

There are many ways to composite 3D objects into live action footage, and with the updates to Version 2 of Element 3D, using E3D is a great option. In this video, I cover the workflow for motion tracking a scene with camera movement using the AE Camera Tracker, and then how to composite a 3D model into the shot using Element 3D V2.

This is done by using the 3D camera tracker in After Effects CC, adding objects using Element 3D V2, color correcting the objects and shot, and linking Optical Flares into the scene.

New to Element 3D? 

Start with how to create a 3D Logo with Shadows & Reflections!

Learn about the Top new Features of Element 3D V2!

Learn about how to use Cinema 4D Animations in Element 3D V2 in this video

And my shortcut tips and tricks for Element 3D V2 in this video!

Like this tutorial? Consider becoming a Patron at Patreon.com/SeanFrangella to get additional benefits such as project files and more! 

To get weekly Motion Graphics, VFX, and 3D animation tutorials be sure to subscribe to the show on YouTube!


How to Track & Composite 3D Models into Live Action Footage using Cinema 4D & After Effects - Part 2

In Part 2 of this Cinema 4D Lite Motion Tracking Tutorial, learn how to 3D motion track a moving camera shot, send tracking information to Cinema 4D for 3D tracking, composite any 3D model or element into the shot, combine the footage and C4D file in After Effects CC using Cineware, light and texture the 3D model, and add final compositing techniques including color correction, environment reflections, and a shadow pass to create realistic shadows and lighting.

Watch Part 1 of this tutorial on tackling the Tracking in After Effects Here

Looking for more After Effects Tracking, Compositing, and Visual Effects Tutorials?

Start with Part 1, working with the After Effects 2D Tracker

Check out Part 2, Matte Painting using the 3D Camera Tracker


Like this tutorial? Consider becoming a Patron at Patreon.com/SeanFrangella to get additional benefits such as project files and more! 

To get weekly Motion Graphics, VFX, and 3D animation tutorials be sure to subscribe to the show on YouTube!


How to Track & Composite 3D Models into Live Action Footage using Cinema 4D & After Effects

Compositing 3D models into live action footage is when things get really serious in the world of Visual Effects. Using Cinema 4D Lite and the Cineware connection in After Effects CC, you can now track and composite 3D models into footage much more easier than ever! In this tutorial I cover how to do the camera tracking in After Effects, send that to Cinema 4D, and then how to light and composite any 3D model into footage, including getting the shadows right! 

Be sure to check our Part 2 of this Tutorial on 3D Compositing Here!

Looking for more After Effects Tracking, Compositing, and Visual Effects Tutorials?

Start with Part 1, working with the After Effects 2D Tracker

Check out Part 2, Matte Painting using the 3D Camera Tracker

Like this tutorial? Consider becoming a Patron at Patreon.com/SeanFrangella to get additional benefits such as project files and more! 

To get weekly Motion Graphics, VFX, and 3D animation tutorials be sure to subscribe to the show on YouTube!


How to Track & Composite Matte Paintings into Footage using After Effects

Adding in Matte Paintings and background set extensions into wide shots can be a great way to change the environment of your footage. When doing so, it is important that everything locks on for the shot to be believable. In this After Effects CC tutorial, I go over how to do just that using the 3D camera tracker, as well as compositing tips and tricks to get all of your VFX elements to blend into your footage.

Looking for more After Effects Tracking, Compositing, and Visual Effects Tutorials?

Start with Part 1, working with the After Effects 2D Tracker

Check out Part 2, Matte Painting using the 3D Camera Tracker

Don't forget Part 3, How to Track & Composite a 3D Object in Cinema 4D & After Effects


Like this tutorial? Consider becoming a Patron at Patreon.com/SeanFrangella to get additional benefits such as project files and more! 

To get weekly Motion Graphics, VFX, and 3D animation tutorials be sure to subscribe to the show on YouTube!


How to work with the 2D Tracking, Compositing, and Color Correction Tools in Adobe After Effects

While the 3D Camera Tracker in After Effects CC works great, it is still important to understand how the 2D point tracker functions, and when it is a good time to use it. In this video, I cover how to use the 2D Tracking tools in After Effects CC to pin a logo to the corner of a building, and also outline some very important color correction and color grading tips to get your composited elements to blend into your footage. 

Looking for more After Effects Tracking and Compositing Tutorials?

Check out Part 2, Matte Painting using the 3D Camera Tracker

Don't forget Part 3, How to Track & Composite a 3D Object in Cinema 4D & After Effects

Like this tutorial? Consider becoming a Patron at Patreon.com/SeanFrangella to get additional benefits such as project files and more! 

To get weekly Motion Graphics, VFX, and 3D animation tutorials be sure to subscribe to the show on YouTube!